Sunday, January 27, 2019

4 Reasons Not To Use Google's Blogger Android App

Google's free blogging service, "Blogspot" is a neat way to get started with publishing your own blog.  You can create a blog for just about anything with the service without needing to buy your own web domain or pay a subscription fee to a web hosting company, and you can even seamlessly monetize your blog for free using Google's Adsense service.

When we here at Hereweeeego finally reached a point in our lives where we could travel, we decided to document our adventures using a Blogspot account.  We aren't tech gurus and we like that we only have to use one service to accomplish all of our (admittedly limited) blogging needs.  The whole business about establishing a domain, integrating WordPress, and dealing with a hosting company was more than we wanted to spend time on while traveling.

So, it would follow that the logical choice for an android app to update our blog on-the-go would be Google's own Blogger app.  Boy, were we in for a surprise.  The Blogger Android app turned out to be a startlingly terrible.  Here are 4 reasons why:

1.  The app hasn't been updated since February of 2016.

   This fact tells you a great deal about Google's commitment to continuous improvement for their app - there IS NO commitment.  Did they just abandon all engineering support for this product? It's not like they aren't getting any negative customer feedback.  Although Google is giving itself a 4 star rating for their app, if you look through recent reviews in the Play store, there are loads of 1 star reviews with comments like, "Appears to be abandonware. No updates in years. All attempts to publish posts fail.", or "uploading photos give this app a seizure or something because it just crashes".  It is befuddling that the app even exists on the Play store any longer, given Google's propensity for killing off it's products. 

2.  No ability to import photos.

 Try and grab photos from your phone's gallery, or even from your Google Photos archive to insert into a blogspot post and the app will literally puke all over itself.  It just can't be done.  The only way to have photos in your article is to snap them as you are writing the post.  What could the "do no harm" crowd at Google have possibly been thinking when they coded their app this way.  A true WTF moment the first time you realize this situation.

3.  Loses all photos in a post if trying to save while out of LTE or WiFi range

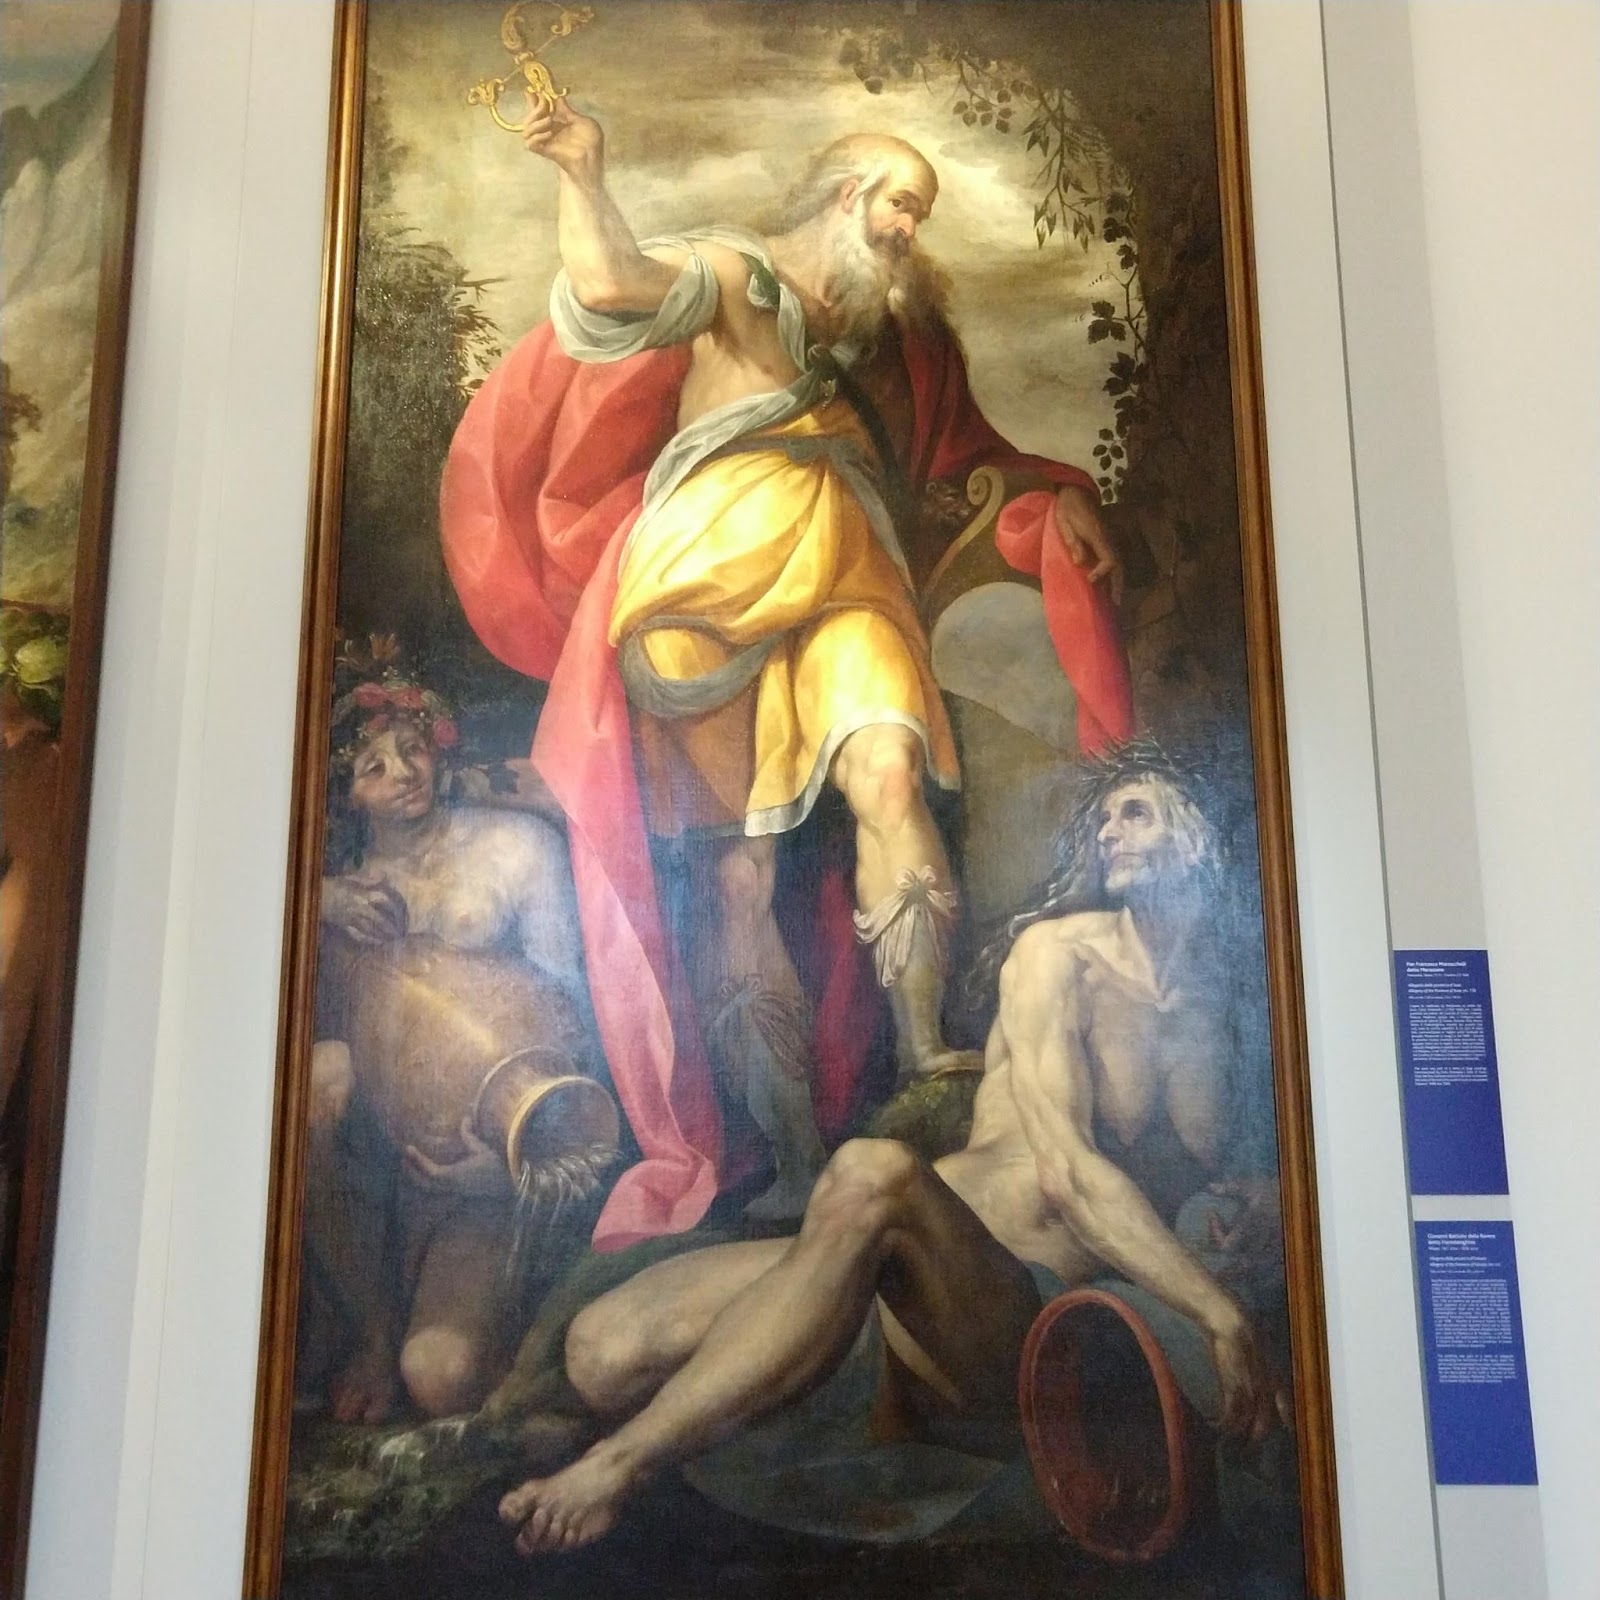
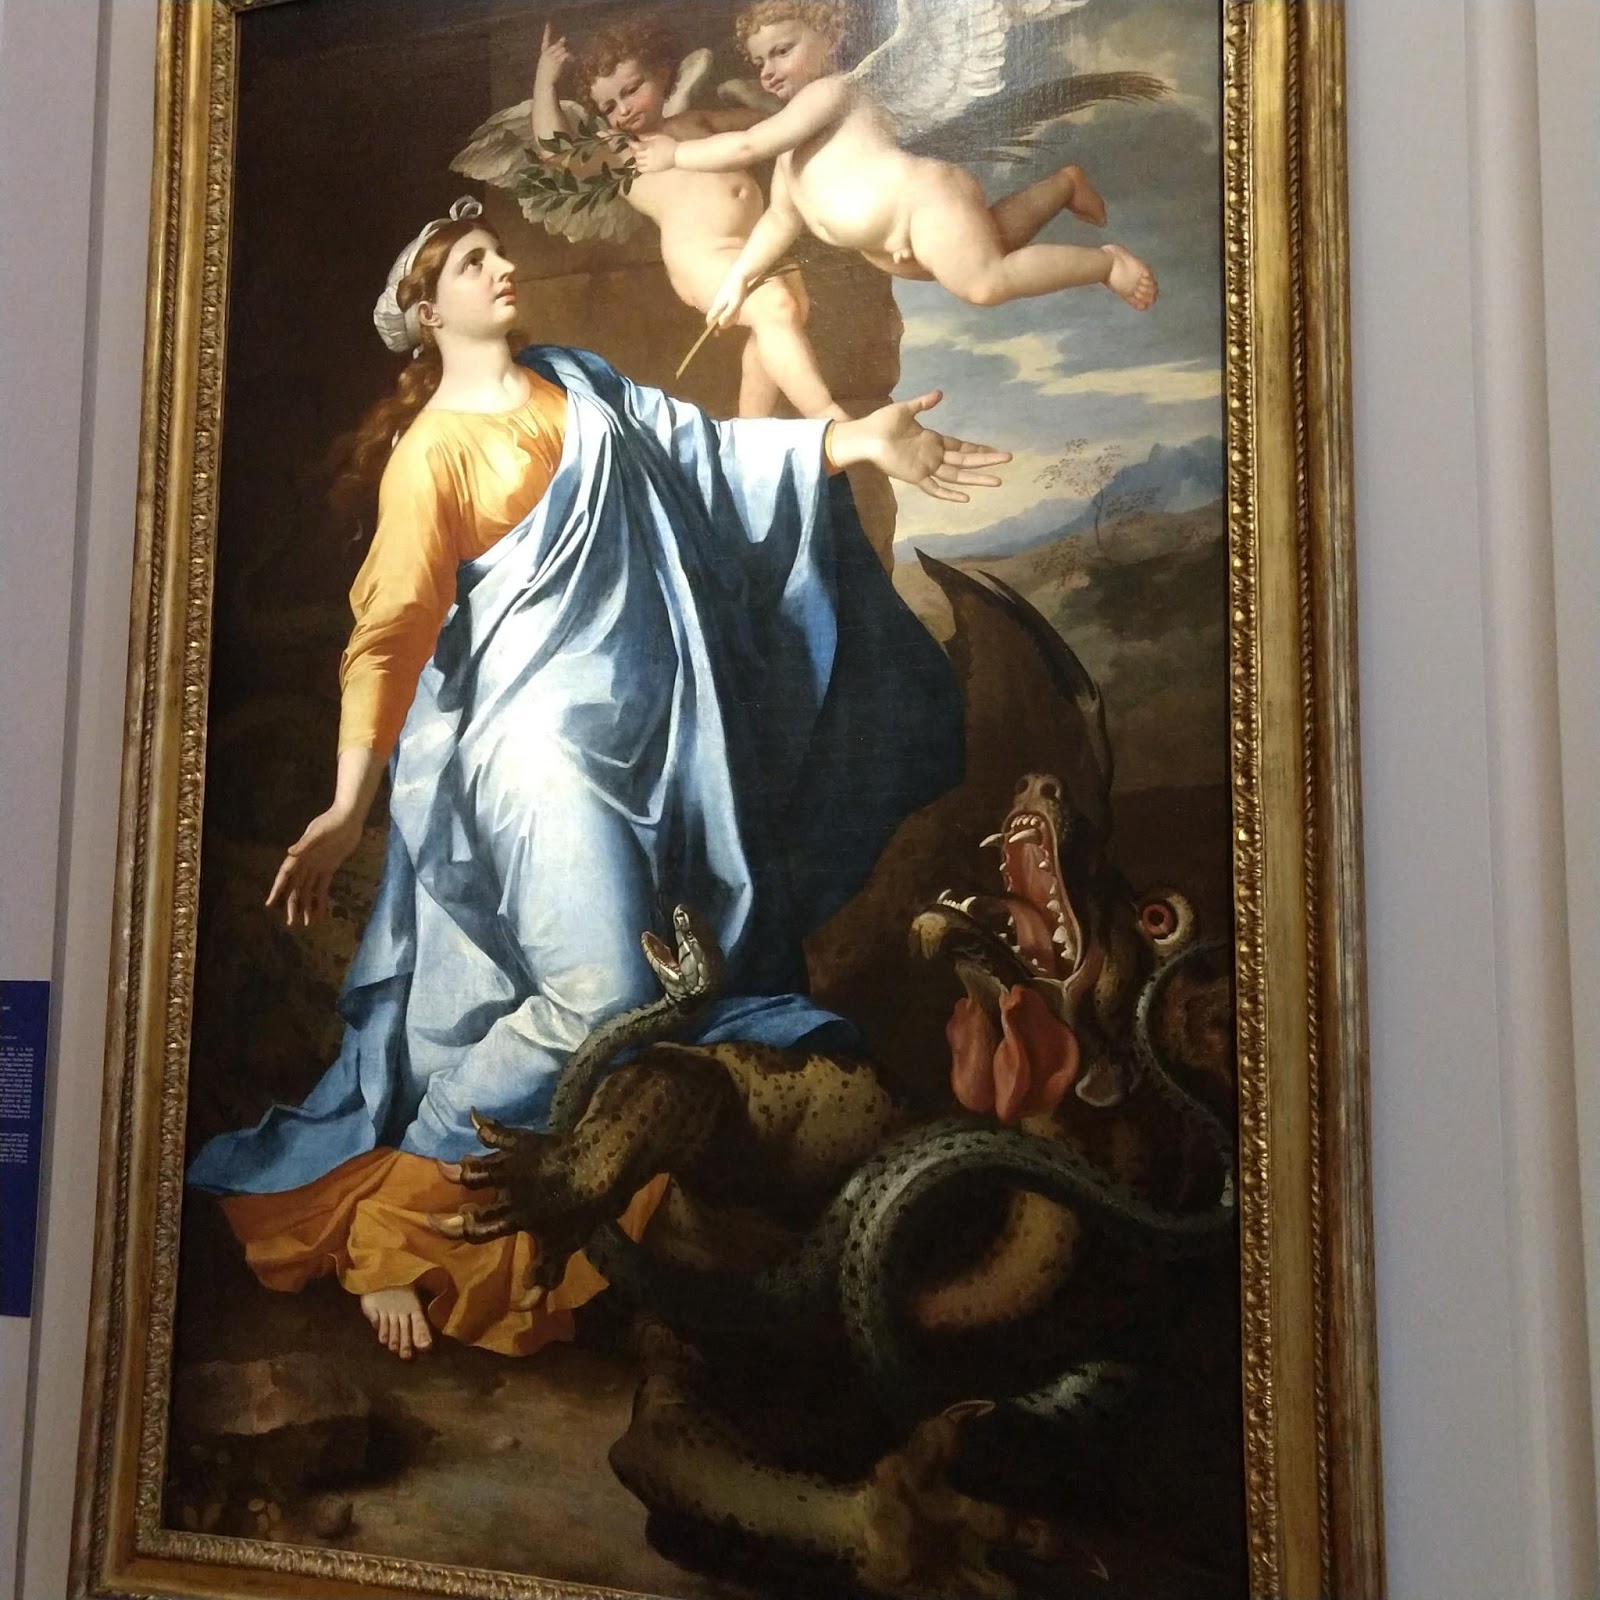
  Here is the one fault with the Blogger app we found most annoying - tragically so.  If you happen to lose internet connectivity while saving a post, ALL OF YOUR PICTURES WILL BE LOST! Gone. Vanished.  Never to be seen again.  Imagine our surprise the first time this happened to us when we had just finished snapping tons of photos of all the great art and sculpture in the Academia museum in Florence.  We didn't have WiFi access while in the museum and instead of just saving the whole post and it's contents locally on the phone, or giving us a warning that it couldn't save until we had established connectivity again, it just screwed us.  We didn't realize it had done that until it was too late to go back.  Not only did we lose all of the photos, but it corrupted the post and we couldn't even edit the text in it later.  Of course, if Google had given us the ability to just shoot photos with our phone or even a camera and import them into the post later (see number 2 above) this never would have been an issue.

4.  Adding text above a photo is a nightmare

Because you have to take photos while in the app (and of course you want photos in a travel blog), if you want to insert text at the beginning of a post or in-between photos, the process is infuriating and more often than not, impossible.  Trying to place the cursor with your finger between photos rarely works.  You are just stuck having to go back and edit the post once you have access to the web portal again.

What's the alternative?

There are alternative apps other than Googles own Blogger product that you can use to create and edit posts for Blogspot - approximately 15 the last time we checked.  Since we discovered how worthless  Google's app is we have tried BlogIt! by João Correia.  It works much better and has all the basic functionality you need to get the job of creating and posting blog posts done but without the infuriation factor of Blogger.  It's free and includes ads but they are unintrusive.  And unlike Google, the developer actually responds to issues people might have with his app.

The other alternative, and the one we are starting to use more often, is to simply create our posts during travel down time by using the web portal on either a tablet or Chromebook.  No more having to snap all of your photos with the horrible blogger app and risk losing them.


Monday, January 21, 2019

Parma, Italy - Plenty of Bang for the Buck!

Parma was one of our favorites.  Far fewer tourists and a great food scene makes this a great town to visit.  We happened to be in the city in the middle of November and it was alive with pre-christmas activity of displaying decorations, and evening outdoor craft markets. We'd recommend at least 3 nights in the city.  It has interesting churches, world class art galleries, and a food scene that may be the best we encountered in Italy.  And no tourist should visit Parma without taking one of the wonderful guided day tours of the cheese, ham, and vinegar producers.

Parma is easily accessible by train from all points in Northern Italy and lies half way along the route running between Milan and Bologna.  You can reach the city in an hour and 10 minutes from the Milano Centrale station.

We stayed at the Hotel Button, which is right in the historic center of the city and offers rooms from $56.00 per night with breakfast included.  It's a 9 minute taxi ride from the train station, or if you pack light and enjoy a walk as we do, then it's a 20 minute walk.  It's a 3 star hotel and the rooms are nothing fancy, but the breakfast buffet is adequate and the location and price can't be beat.

Hotel Button  - in the heart of the city

After the arriving at the hotel, you may be ready for a light and inexpensive lunch or snack.  We recommend you give Toast Amore a try.  It's on a popular street for strolling at 31 Strada Cavour. It's a unique concept with just sandwiches made on toasted bread.  The prices are 4 to 5 euros, but the size of these treasures justifies the price.  They are 18" x 18". You won't be hungry until dinner after working through one of these.

Stopped in here for a lite bite and had a great conversation with the owner.
We were expecting a small toast sandwich and he brought out THESE monsters.  So much for a light lunch...

After lunch, take a stroll over to the Piazza Duomo.  Here you can find a very nice cathedral dating back to 900AD, as well as the accompanying Baptistry and the Diocese Museum.  A single ticket purchased at the museum gets you entrance to the museum and the baptistry - the Duomo is free.  All three are worth the time to visit and the baptistry in particular, although it doesn't have the bronze doors as it's more famous Florentine cousin, it's interior is filled with stunning frescoes. 


Pictures of the inside of the Baptistry can be found at our Baptistry of Parma Page
and the Duomo can be found here Duomo of Parma

We recommend taking a relaxing walk through the streets in the neighborhood of the Duomo for a slice of tourist heaven. 
Quiet Streets around the Cathedral - What a nice change of pace!
Parma is just loaded with interesting churches.  The range of art and architecture is incredible.  Some that we can recommend (with links to more pictures) are:

San Giovanni, a short walk from the Duomo. (Apologies for the poor picture quality, it was a very dark day and we got there late)
Santa Croce with it's fabulous frescoed Cupola, and the intimate Chapel of the Most Holy Sacrament (more great frescoes)
Santa Maria Quartiere, another fine cupola and some of the best wall frescoes anywhere 
San Vitale, a surprisingly wonderful little church 
Santa Maria Steccata

For art lovers, there is the great National Gallery of Parma located in the Pallazzo della Pilota and the Pinocateca Stuard located at 2

As mentioned above, you just really need to take one of the food production tours offered in Parma.  Parma is one of Italy's epicenters for foodies and we found the food much better than Bologna which seemed to run to the overly salted.  We took the great whole day Tastybus tour offered by Maestro Travel Experience.  Our guide, Elisa was exceptionally well educated in Parmesan Cheese, Parma Ham, and Balsamic vinegar.  On the tour she gets right in there, showing you how to test cheese wheels, season the ham, and introduces you to the proprietor of Acetaia Picci, a small Balsamic vinegar producer whose product is amazing.  We were blown away by the time and care required to make the most exclusive and expensive vinegars you will ever come across.  There is even tasting at all three stops and lunch is included!

And lastly, you have to sample the many gourmet Italian restaurants in the old center of the city.  Keep in mind this is a city famous for it's cuisine, and you will absolutely need reservations for many of the better establishments.  We were pleasantly surprised that Google now offers a reservation service for most of them right in the Google Maps app.  Just locate the desired restaurant in Gmaps, scroll down to the reservations section and off you go.  We found it invaluable both as a reservation service and as a tool to tell us when the most busy times at particular place are.  One of the specialties of Parma Cuisine is lard fried dough pockets.  They are a sinful indulgence but you'll walk it off on a stroll through the city- right?

Some of our favorites were:

Gallo de Oro at 3
La Cucina Del Maestro at 19
Trattoria Del Tribunale Parma at 5


The Gallo d'Oro Restaurant is just next door to Hotel button and did not disappoint.
We had gelato every night at the Grom around the corner from the Hotel Button.
 
We were fortunate to arrive in Parma when the Christmas lights were just going up.  One of the little streets hung lights across the top in the shape of lamp shades.  You can see a quick video of it here.

We also stumbled upon a little produce shop that was a work of art itself.  The colors and selection were out-of-this-world.  You can see video of that here.


Friday, January 4, 2019

A Quick Guide to Zaragosa

When you think of great tapas in Spain, most of the attention goes to San Sebastian, Pamplona, and Barcelona, and they are great cities for foodies, but Zaragosa is surprisingly vibrant, well located, and has a world-class foodie scene of it's own.  Because it isn't on the coast, or a major tourist stop, it often gets overlooked.

 Zaragosa is a university town and main train hub in Aragon.  The 1.4 hour ride from Barcelona would knock off half the distance to Pamplona or Madrid.  If you are flying into Madrid or Barcelona with the intention of exploring the Northern portion of Spain, consider spending one or two nights in Zaragosa to adjust to the time change.  You will find that the "El Tubo" tapas district is well worth the visit and a great place to get into the rhythm of late night dining so popular in Spain.

There are hourly departures from the Barcelona Sants train station on the comfortable and fast Ave trains with fares as low as 26 euros. It's a comfortable hour and 40 minute ride through the country side and beats the hassle and expense of renting a car.  Departures from Madrid's Atocha station are the same price and only an hour and 20 minutes.

You arrive at the Zaragosa-Delicias train station and can walk to the old city center in 40 minutes or use a taxi to get right into the action in 10 minutes.

Check in to the hotel and get ready for lunch.  We recommend Hotel Don Jaime 54 at


After lunch, stretch your legs by walking around the corner to Plaza de Nuestra Senora Pilar.  It's a scenic stroll a few blocks long with shops on one side and the basilica of the same name on the other.  At the end is a modern sculpture/waterfall named Fuente de la Hispanidad and a sculpture of the earth known as Bola de Mundo. 

Fuente de la Hispanidad


A visit inside the  Basílica de Nuestra Señora del Pilar is a must for tourists and pilgrims alike, and since you are already standing outside of it, why wouldn't you? It has a fascinating history, which you can read about here on Wikipedia.  It's believed to be the first church in history dedicated to the Virgin.  She is said to have appeared to St. James here and given him a pillar and instructed him to build a church on this site.  James may have built the first small chapel on the site in 41 AD.  You can still see and touch the famed pillar inside the basilica, which the citizens of Zaragoza have been protecting for centuries including occasionally hiding the artifact during invasions.  The frescoes by Goya, and architecture inside alone are worth the visit.  The basilica is also nicely lit up in the evening. 

Basílica de Nuestra Señora del Pilar


 You can walk across the Puente de Santiago bridge over the Ebro river located at the far end of the plaza and walk along the far side of the river on Paseo de la Ribera for an impressive view of the basilica before walking back across the Puente de Piedra and end up right at the Hotel Don Jaime for a traditional Spanish Siesta.

In the evening, a visit to the El Tubo tapas district is a must.  


Although smaller in size than the more famous tapas districts of Pamplona or San Sebastian, you can find an eclectic selection of delicacies here.  You really can't go wrong with any of the bars here, but we can recommend from personal experience La Ternasca at and Bodeguilla Los Rotos at


La Ternasca - Octopus cooked right


Bodeguilla Los Rotos - somthing for everyone

Puerta Cinegia Gastronómica Mercado at Calle Corso 35, just outside of the El Tubo area for a nightcap.  Take the escalator up to the bar and order a Tinto Verano.  They make it excellent here.  If you are still hungry or craving desert, there are food vendors encircling the bar.  It might best be described as a gourmet food-court with a bar in the middle.  Before walking back to the hotel, toast the giant roman statue overlooking the bar...:)

Puerta Cinegia Gastronomica Mercado
Who is this guy and why is looking at me?

Before you leave the following day, make sure to visit the Museo de los Faroles y Rosario de Cristal in .  This is an impressive collection of lighted floats used during religious parades that is displayed in a church.  The display is motion activated to turn on lights in the floats as you walk by them and a voice describes each.  There are a lot of them and there likely isn't another museum anything like this in the world. If you have more time, there is an interesting museum of an ancient roman theater next door.


  There are many other sites to see in Zaragosa and Friday nights in particular are lively with the local college students partying into the wee hours, but for a quick stop-over, you can't go wrong with Zaragosa.


Wednesday, January 2, 2019

Palazzo Reale Museum - Turin

You want great art from old world masters? The Palazzo Reale museum in Torino is for you.  Are you a history buff who likes medieval armor and weapons?  Watch this!  Palazzo Reale Armory


Friday, December 21, 2018

Hoka One One Stinson ATR 4 Trailrunners


I can think of one word to best describe the Hoka One One Stinson ATR 4 Trailrunners - Plush!  They have a ton of cushion.  These shoes were recommended by my podiatrist.  You can tell from the picture below that they have a much higher stack height of cushion than your typical running shoe.

Hoka Stinson ATR 4

I had been suffering from plantar fasciitis for months.  He explained that the typical mass market running and hiking shoes have a very high heel-to-toe drop (my Nike Pegasus that I had been wearing for many years are 12mm), and that I needed to start training my feet to get back to the more natural way of walking which would be NO heel-to-toe drop.  Humans were designed to walk and run flat footed and wearing shoes with a high drop is like walking (or hiking) in high-heels.  The Hoka Stinson ATR 4 has a 5 millimeter drop so, less than half the typical running shoe.  There are some brands out there, particularly Altra, that offer a zero drop and that is the goal, but my podiatrist wanted me to make the transition using the Hokas first to give my feet a chance to adapt and prevent injury.  The theory is that once my feet adapt to the more natural walking gait in zero drop shoes, my plantar fasciitis will stop recurring.  No more searching for expensive shoe inserts or trips to the doctor for cortisone shots...!

I normally wear waterproof hiking shoes from Northface when we go on our trips to Europe.  This past trip to Italy, I took both but the Northface shoes stayed in my back pack.  Had I known I could get by just fine with only the trail runners, I would have left the hiking shoes behind and saved 3 pounds of weight in my pack!  The Hoka's only weigh 1.5 pounds.  I believe on the next trip I will replace the extra pair of shoes in my pack with a pair of Croc's which weigh less than a pound combined.

So, how did they perform on a 5 week trip through Italy?  Nearly perfectly.  They are supremely comfortable as walking shoes.  The combined effect of massive cushion and a wider than normal sole made walking on cobblestones and all the other hard surfaces the Italians pave their streets and sidewalks with a non-issue. You may be able to tell from the photo below that these shoes have wider than normal soles in the heel area for stability and the fore foot is shaped more like the natural shape of the foot than most running shoes.

A wide heel and an ample toe box make for a great hiking shoe.


They are quite breathable and I never had sweaty feet or blisters and we averaged 10 miles a day. The times I did get wet feet from walking in rain, they dried out quickly overnight.  In fact, since I've been back I wore them on a job recently in a torrential downpour that caused flooding at my customer's facility.  I had no choice but to walk through a puddle up to my ankles in the morning.  Amazingly, by the time I got back to the hotel that evening, my shoes, socks, and feet were totally dry!

I've been wearing this pair since August and I have accumulated far more than the 500 miles running shoes typically should be replaced at.  They are just now beginning to feel as though the cushion is spent and I'm probably due for a new pair but structurally, these shoes have held up fine.  The uppers and soles still have plenty of miles left in them.

Dirty but still functional
You may be asking yourself when the other "shoe is going to drop" and here is the only negative I've found with these shoes:  Wet traction on smooth surfaces is nearly nonexistent.  Walking on polished marble sidewalks that were wet from rain in Padua, my feet slipped out from under me backwards. If I hadn't been in the kind of shape that allowed me to catch myself in a pushup position, I'd likely have a different shaped face right now.  Although that might have been an improvement, it would have ruined an otherwise great vacation...:)  If you wear these shoes on vacation, mind the wet spots.  These shoes also suffer from that loud squelching sound you sometimes hear from wet shoes.

There has been a trend among thru-hikers lately to use trail runners instead of hiking boots.  If I was doing the Camino de Santiago, or the John Muir Trail, I wouldn't hesitate to wear the Hoka Stinson ATR 4.

How would I rate these shoes for vacation travel?

Pros:

1. Supremely comfortable and cushioned.
2. Plenty breathable
3. Durable
4. Cobblestone compliant
5. Blister free hiking
6. Lightweight

Cons:

1. Not good for smooth wet surfaces
2. A little on the expensive side.  They normally retail for $160 but we found them at REI on sale for $130.  About what a top-of-the-line running shoe typically costs.

Final verdict:  absolutely vacation worthy.

Saturday, December 15, 2018

REI Co-op Stuff Travel Tote Review

For a recent extended backpacking vacation in Italy, we wanted something we could use for quick jaunts to a market, laundry, and for keeping snacks in while riding on trains.  This REI "Stuff Travel Tote" turned out to be perfect.  It compress down into a very small attached pouch for packing but expands plenty big enough to put a couple days worth of food in at a market.  It also has an exterior stretchable pocket that nearly doubles the capacity. We used this bag in a drenching downpour and the contents in the interior pocket stayed dry.  It comes with both hand-held handles and also a fully adjustable shoulder strap which the wife used almost exclusively.  This bag weighs very little when packed in the back pack and is very much worth the price at REI.


Showing hidden interior storage pouch

Osprey Kestrel and Kyte Backpacks are the perfect European Travel Luggage

We've taken 6 trips to Europe over the last 12 years or so.  The first was a cruise, so luggage handling wasn't an issue. The second trip we toured much of Tuscany and Umbria by train.  It was during this second trip that we decided we were done with rolling luggage.  We won't ever again be the tourists who drag rolling luggage over cobblestone paved sidewalks and streets, drag them up and down stairs (many of the small hotels and B&Bs we stay in don't have elevators), and heave them on and off trains. It's backpacks for us from now on.

Now that we've completed 4 other trips of from 2 to 5 weeks with just backpacks, we have enough experience to know what works for us.  Our first 3 trips with backpacks saw us using inexpensive, army surplus store packs.  They weren't particularly light, or comfortable, but they got the job done.  For our latest 5 week trip through Northern Italy, we decided to splurge and upgrade to Osprey Kestrel 48 (his) and Kyte 46 (hers) backpacks.


We chose these after spending time talking to the helpful backpacking experts at REI.  We gave them our requirements of packs that would serve us well on the Camino de Santiago, the John Muir trail, and general gallivanting around Europe.

The folks at the REI backpack department are true "outfitters".  They have a selection of pads and weights that they can load into a pack you are considering and then a detailed process for adjusting the fit of the pack to your body.  The trick was to choose packs with very comfortable, padded hip belts and suspension systems that will allow for airflow between the pack and your back.  Once correctly adjusted, the majority of the weight is distributed to your hips and the upper straps only prevent the back from moving front to back.  The difference in how the weight feels with a quality pack versus the inexpensive ones that put all the weight on your shoulders is remarkable.  With these packs, we never found ourselves having to lean forward while walking, nor did our backs and knees ache after taking them off after a long walk.

These packs have sleeved areas where you can slide in a hydration bladder, storage for the included rain cover, and separate storage area for a sleeping bag.  They even come with straps for hauling a tent, a loop for an ice axe (hope we never need one of those), holders for hiking poles built into one of the shoulder straps, and the ability to access the main compartment through either the top or side.

They also have a nice stretchy pocket on the back where we stored our raincoats for quick access, and side pockets of the same material for water bottles.

We were able to walk on and store these backpacks in the overhead stow bins easily on an Airbus A-318, Boeing 767, and a Boeing 737.  The men's version, if the top compartment was fully stuffed, might be a challenge on some of the CRJ planes that some of the airlines are still using.  Knowing that could happen to us, we purchased some tyvek zip up shopping duffels from Ikea called "Frakta" for $4.95.  The backpacks fit perfectly in them. The makes them perfect for backpack travel. They weigh next to nothing and fold up neatly and fit into the area where the hydration bladder would normally go.  Most of the backpacks we considered at REI had areas where the bladder would be stowed internally.  That would mean at least partially unloading the pack to retrieve the bladder to refill it or to get at our Frakta bags.  We didn't use water bladders for our vacation because we never had far to hike to get to our hotel.  Water bottles in the side pocket served us well for staying hydrated on long train rides. These two Osprey packs have the bladder sleeve mounted behind the breathable suspension area, but external to the pack.  It's the best possible option.
Frakta bag partially inserted in water bladder sleeve

Pack fits easily into the Frakta bag


As an experiment, on our way home from Italy we packed both backpacks into the Frakta bags and checked them through to our final destination.  Both arrive unscathed.

Here's what we liked and disliked about our experience with these two packs during our 5 weeks of living out of them in Italy:

Pros
1.  Tons of adjustability
2.  Totally comfortable weight distribution
3.  External water bladder sleeve.
4.  If you pack light, and strategically, they are plenty big enough
5.  Seemingly countless straps for compressing the contents.  Smooshing everything down well after you've packed it makes the overall outer dimensions of the backpack good for fitting in overhead storage on planes and trains.
6.  Quick and easy access via a side zipper to the main storage compartment.
7.  The include rain covers worked well in a torrential downpour in Padua.

Cons
1. Virtually impossible to reach water bottles in the side pockets with the pack on.  If we were doing longer hikes, we would absolutely incorporate a water bladder.

The Osprey Kestrel and Kyte backpacks proved perfect for our style of traveling by train in Europe and we suspect they will serve us well on our upcoming trips on the Camino de Santiago, and the John Muir Way in Scotland. If you through in the Osprey guarantee, these may be the perfect travel backpacks. Hereweeeego....